Here are the instructions I gave to one of my group of students:
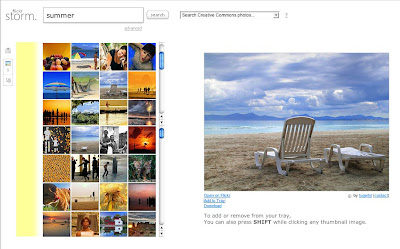
- Go to FlickrStorm
- Think of a topic that interests you and write it in the search box
- Click on advanced and the option Search creative commons photos
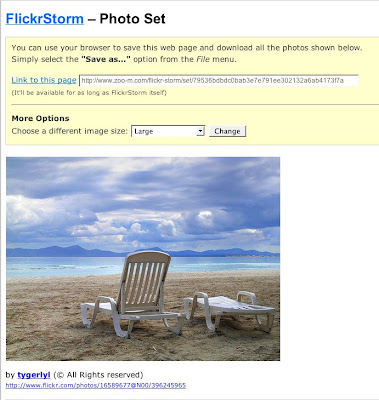
- Download the photos you like (you need 12 - 15) to the class folder on the computer
- When you save your photos, give them a name you'll be able to recognise them by
- Now go to Animoto
- Click on Sign up to create a new account - quick and easy to do
- Now click on Create video
- Select Animoto short
- Click on Upload
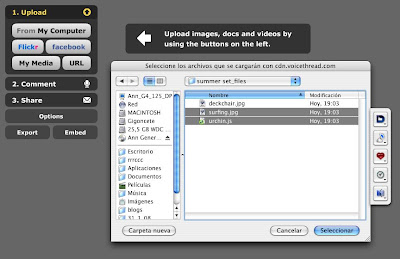
- Find the folder where you downloaded the photos you saved earlier and select them
- Once your photos have uploaded, think of some text to add and click on add text
- Drag and drop your text to where you want it in the video then click on Continue
- In Get your music, choose Select from our collection and select something you like
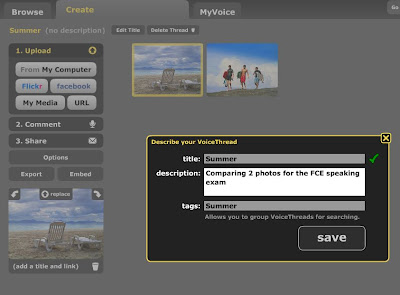
- Give your video a title and click on Create video
- When your movie is complete (which takes a time), view it
- Now click on the option Enbed/Post online (the pin icon) and then on Blogger
- When prompted, fill in the email address you use for signing into Blogger and your password - the title of this blog should appear in the pop up menu
- For Title of post put the title of your video.
- Click on OK and Animoto should advise you that your video has been posted on the blog
using an MP3 recorder.
Below are the steps I followed to add their interviews to the class blog:
- Open your sound files a freeware program like Audacity with the LAME MP3 encoder and save them as MP3
- Open an account with Podomatic
- Click on My Podcast then Create an Episode
- Give your podcast a title, and then click on Import.
- Find your sound file on your computer
- Click on Post Episode
- Click on the episode you interested in (if you've already created more than one)
- Copy the link and add it to you blog post so that you can access your podcast recording directly from there
Listen to an interview with the video maker


