If you let students to choose the photos they like best for the task, they are much more likely to be enthusiastic about what they have to say: an important learning experience that they can carry forward to the exam.
Here's an example of a VoiceThread from a post FCE student:
You can also use VoiceThread with your students for making presentations, storytelling, anecdotes and giving directions.
VoiceThread is very teacher-friendly. It has privacy controls, comment moderation, and a system of identities that allows all students in a class to work within one account.
Again you'll need a microphone attached to the computer(s) that you're going to use.
Creating an account with VoiceThread
- Go to www.voicethread.com, and click on Sign in or Register.

- Fill in your details and click on register.

- VoiceThread offers you a series of tutorials to help you out.

- As a teacher, you have the option to register for a special K-12 educator's account which gives you all the features of a paid Pro account. If you're interested, click on Go Pro! at the top of the page.

- Now click on K-12 Educators click here.

- Fill in your school's details and VoiceThread will send you an email confirming your Educator's account.
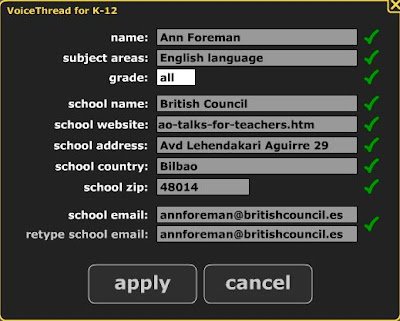
- When you want your students to use VoiceThread, get them to sign in using your account login (see creating separate identities for them below).
Configuring your account

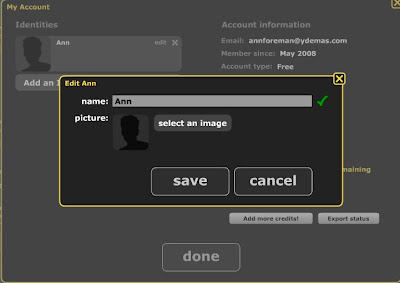
- On your My Account page, you can add a picture
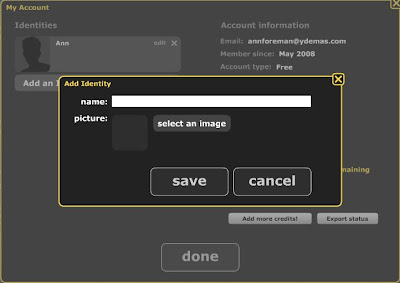
- And add a new identity for each of your students to use when they create a new VoiceThread.
Creating a VoiceThread
1. Selecting and uploading photos
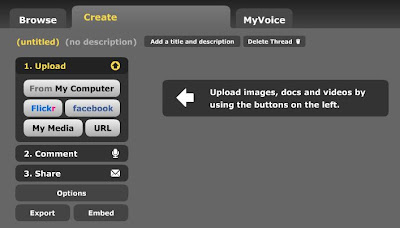
- When you or your students want to start a new VoiceThread, click on Create

- You and them can upload photos, videos or documents from an individual computer or from Flickr (if you already have an account there containing photos).
- The method I prefer is to use FlickrStorm which searches through all the photos on Flickr. (You can also use Google Image Search but the quality of the photos often isn't so good.)
- Open FlickrStorm and write the topic of the photos you want to search for in the box provided .
- Click on Advanced and select Search Creative Commons photos - which means that the photos you find will be of free copyright (as long as you are not going to use them for commercial purposes).

- Now click on search, and after a few seconds you will get results like these.
- Click on the photos you like and then Add To Tray.
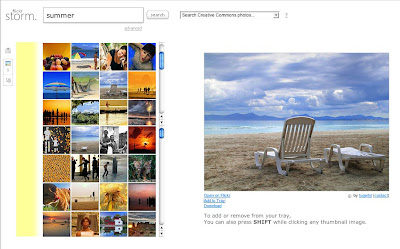
- Your students will only need to select 2 when practising for the Cambridge speaking exams.
- Now click on the Download & link to your tray button.

- This will take you to a page like this. Save it using the Save as option on your web browser's menu.
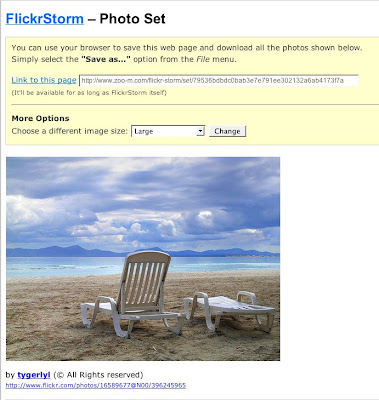
- The photos will be downloaded to your computer in a folder and each will be in .jpg format. It's a good idea to change their titles to something comprehensible.

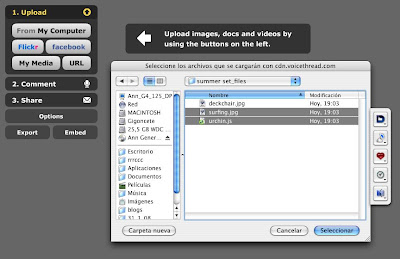
- Now you're ready to upload them to VoiceThread. Click on Upload From My Computer.
- First select the folder where your photos are, then each of the photos and finally, click on Select.
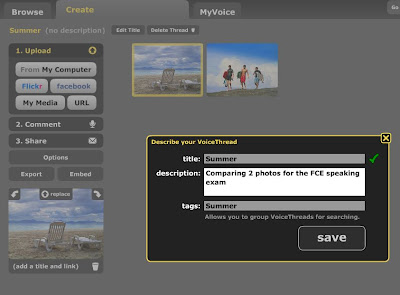
- Give your VoiceThread a description.
2. Recording a comment
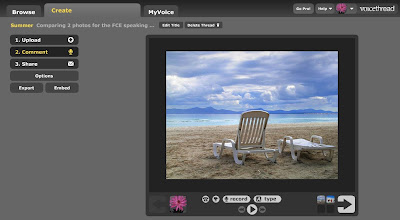
- Click on Comment
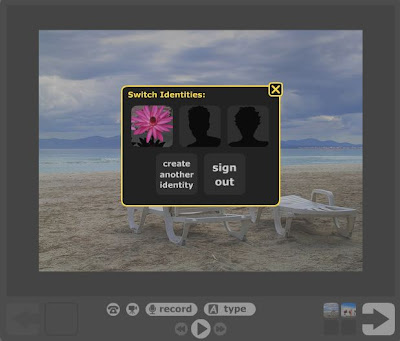
- If you have created separate identities for your students, you and them can switch between them when recording a comment by clicking on the icon below the photo.
- Click on record and this dialogue box will appear. Click on Allow.
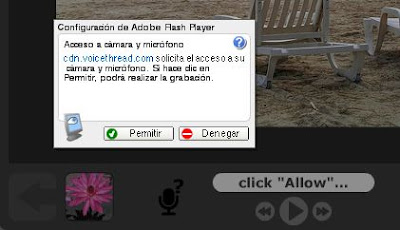
- As soon as you've clicked on Allow, recording begins, so make sure you're ready!
- When you click on Stop, your recording is automatically replayed to you so you can decide whether to Save or Cancel it.

- To continue recording your comment on the same photo, just click on record again.
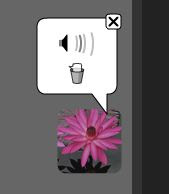
- If at any time you decide you don't like what you've said, you can delete the entire comment by clicking on the bin icon.
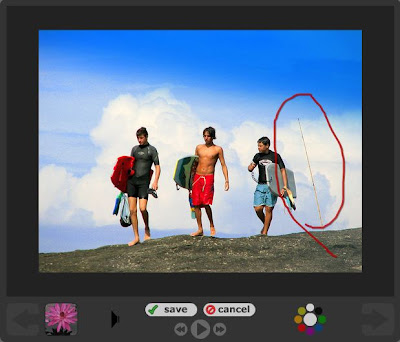
- Another interesting feature of VoiceThread, that's particularly useful for presentations, is the doodling tool. Click on the series of coloured circles that are visible when you are recording and you can signal what you're focussing on.
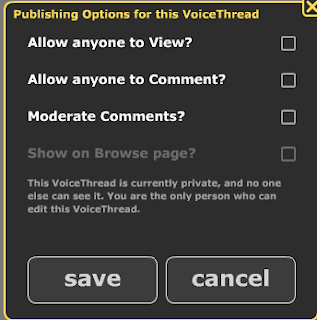
3. Sharing your VoiceThread
- You have complete control over who can see and comment on your VoiceThread. You can make it public or private and decide to allow all comments or to moderate them.
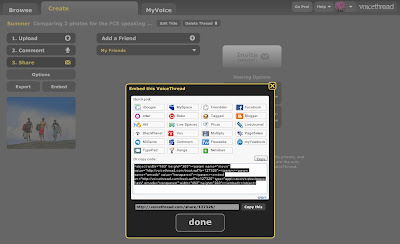
- To include your VoiceThread on your class blog, copy the code that's displayed when you click on the Embed button (at the bottoma of the page).
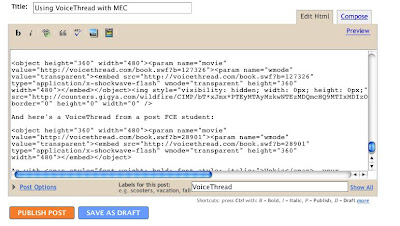
- Paste to code into your blog posting (remember to click first on the Edit Html tag).
Here are the results that you can expect.


2 comments:
Hi again, Ann. I am coming from a comment you left in Wordpress where you mentioned that you are doubtful about Bubbleshare. I have used it and simply set it as "private" or turn comments off. It depends on what you want it for but you can always select settings to avoid strangers from watching your photos or images.
Good luck and keep up the great work,
Berta, another EVO colleague
Check out the wiki I made about VoiceThread at http://voicethread4education.wikispaces.com/ and consider adding examples or best practices. I linked your post on the Resource page.
Post a Comment